반응형
프로젝트 명 : blog_web_app
개발 환경 : 플러터 SDK : 3.3.x
미션 : 웹뷰를 사용해서 웹사이트를 앱으로 포장해보기
기능 : 웹뷰를 사용해서 앱에서 웹사이트 실행하기
핵심 구성요소 : StatelessWideget, AppBar, WebView, IconButton
플러그인 : webview_flutter: 3.0.4
📝 콜백 함수
콜백함수란 일정 작업이 완료되면 실행되는 함수를 말합니다.
함수를 정의해두면 바로 실행되지 않고 특정 조건이 성립될 때 실행되기 때문에 콜백이라고 합니다.
📝 코딩해보기
1) pubspec.yaml 설정
pubspec.yaml 파일은 플러터 프로젝트와 관련된 설정을 하는 파일입니다.
dependencies:
  flutter:
    sdk: flutter


  # The following adds the Cupertino Icons font to your application.
  # Use with the CupertinoIcons class for iOS style icons.
  cupertino_icons: ^1.0.2
  webview_flutter: 3.0.4	// 여기에 추가
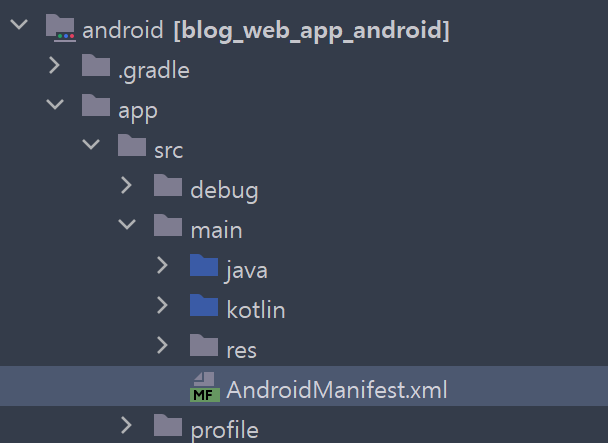
2) 안드로이드 설정
android/app/src/main/AndroidManifest.xml 파일 수정
<manifest xmlns:android="http://schemas.android.com/apk/res/android">
    <uses-permission android:name="android.permission.INTERNET"/>	// 여기에 추가
    <application
        android:label="blog_web_app"
        android:name="${applicationName}"
        android:icon="@mipmap/ic_launcher">
        <activity
            android:name=".MainActivity"
            android:exported="true"
            android:launchMode="singleTop"
            android:theme="@style/LaunchTheme"
            android:configChanges="orientation|keyboardHidden|keyboard|screenSize|smallestScreenSize|locale|layoutDirection|fontScale|screenLayout|density|uiMode"
            android:hardwareAccelerated="true"
            android:windowSoftInputMode="adjustResize">
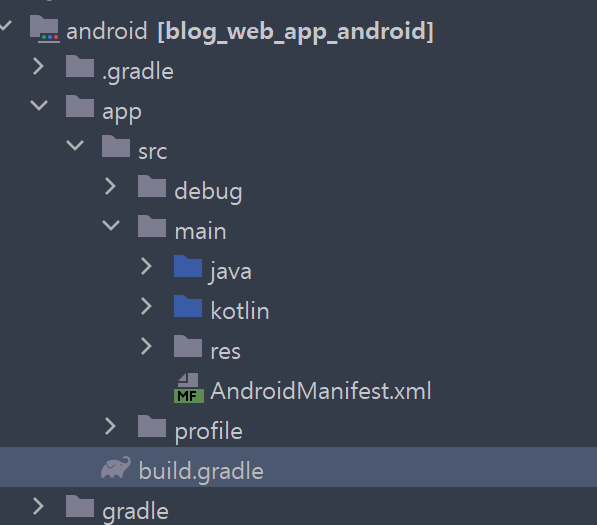
3) build.gradle 파일 수정
android {
    compileSdkVersion 32	// 여기 추가
    namespace "com.example.blog_web_app"
    compileSdkVersion flutter.compileSdkVersion
    ndkVersion flutter.ndkVersion

    compileOptions {
        sourceCompatibility JavaVersion.VERSION_1_8
        targetCompatibility JavaVersion.VERSION_1_8
    }

    kotlinOptions {
        jvmTarget = '1.8'
    }

    sourceSets {
        main.java.srcDirs += 'src/main/kotlin'
    }

    defaultConfig {
        // TODO: Specify your own unique Application ID (https://developer.android.com/studio/build/application-id.html).
        applicationId "com.example.blog_web_app"
        // You can update the following values to match your application needs.
        // For more information, see: https://docs.flutter.dev/deployment/android#reviewing-the-gradle-build-configuration.
        minSdkVersion 20	// 여기 추가
        targetSdkVersion flutter.targetSdkVersion
        versionCode flutterVersionCode.toInteger()
        versionName flutterVersionName
    }
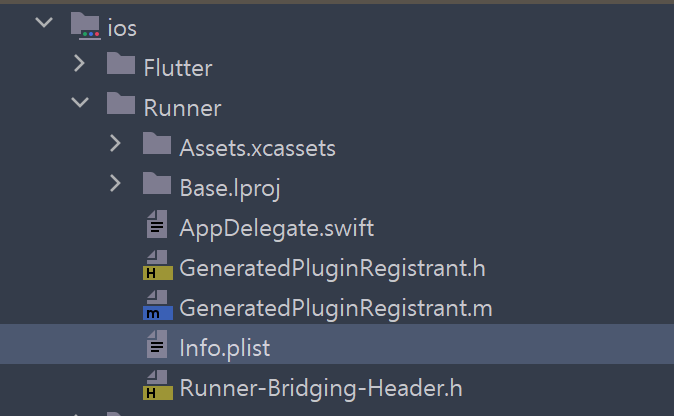
4) iOS 설정
// 아래 코드 추가
<key>NSAppTransportSecurity</key>
        <dict>
            <key>NSAllowsLocalNetworking</key>
            <true/>
            <key>NSAllowArbitraryLoadsInWebContent</key>
            <true/>
        <dict/>
        // 여기까지
</dict>
</plist>
5) 프로젝트 초기화
lib 폴더 위에 마우스 우클릭 > screen 폴더 생성 > 폴더 안에 home_screen.dart 파일 생성
import 'package:flutter/material.dart';

import 'package:webview_flutter/webview_flutter.dart';

class HomeScreen extends StatelessWidget {
  // 컨트롤러 변수 생성
  WebViewController? controller;

  HomeScreen({Key? key}) : super(key: key);

  @override
  Widget build(BuildContext context) {
    return Scaffold(
      appBar: AppBar(
        // 배경색 지정
        backgroundColor: Colors.orange,
        // 앱 타이틀 설정
        title: Text('준혁의 Blog'),
        // 가운데 정렬
        centerTitle: true,

        // AppBar의 actions 매개 변수
         actions: [
           IconButton(
             // 눌렀을 때 콜백 함수 설정
             onPressed: () {
               if (controller != null) {
                 // 웹 뷰에서 보여줄 사이트 실행하기
                 controller!.loadUrl('https://devjunyeok.tistory.com/');
               }
             },
             // 홈 버튼 아이콘 설정
             icon: Icon(
               Icons.home,
             ),
           )
         ],
      ),
      body: WebView(
        // 웹뷰 생성 함수
        onWebViewCreated: (WebViewController controller) {
          this.controller = controller; // 위젯에 컨트롤러 저장
        },
        initialUrl: 'https://devjunyeok.tistory.com/',
        javascriptMode: JavascriptMode.unrestricted,
      ),
    );
  }
}
6) main.dart 파일 수정
import 'package:blog_web_app/screen/home_screen.dart';
import 'package:flutter/material.dart';

void main() {
  runApp(
    MaterialApp(
      home: HomeScreen(),
    ),
  );
}
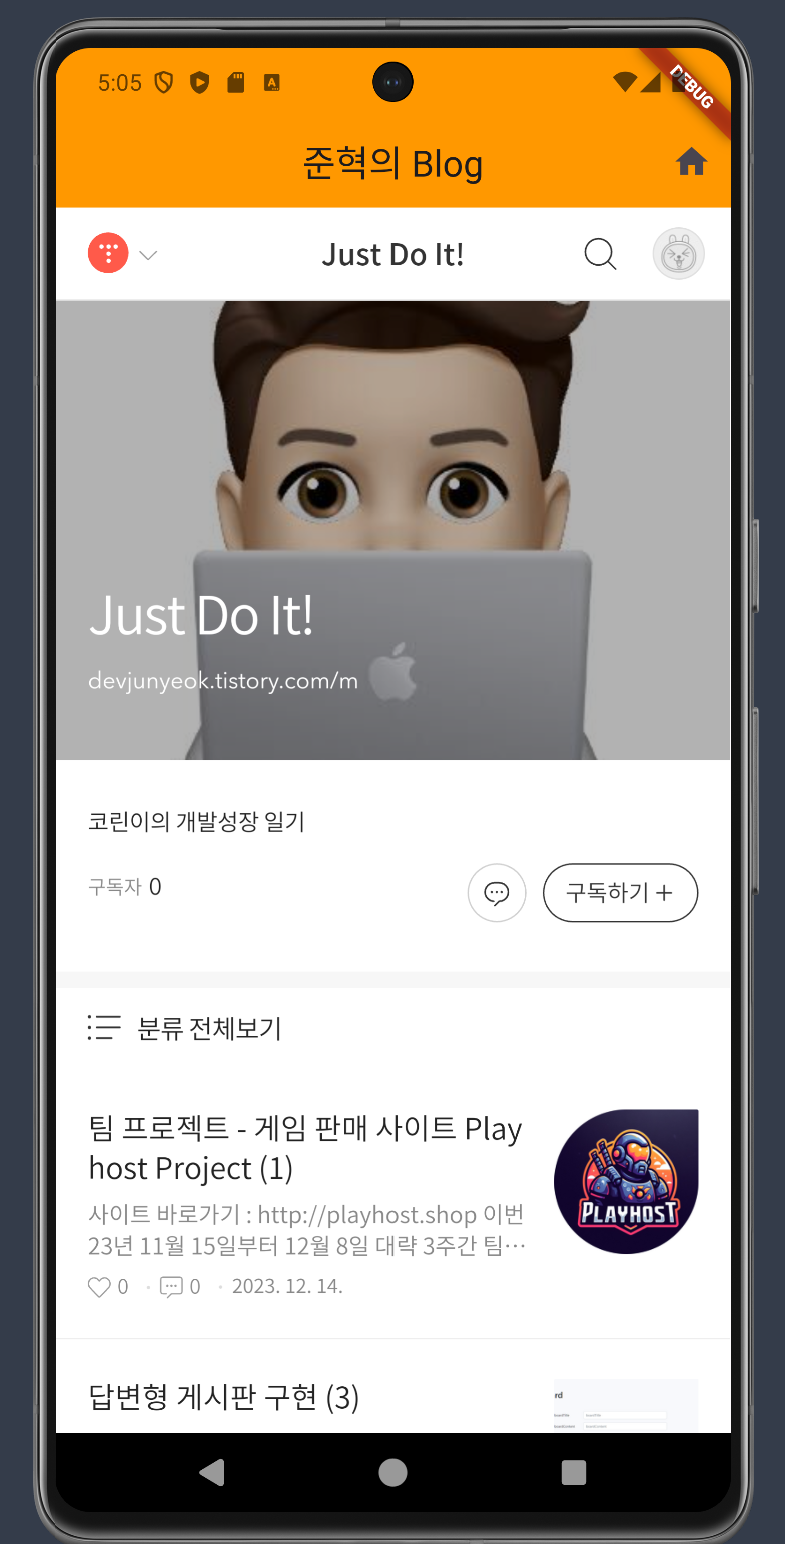
7) 실행결과
반응형
'Flutter' 카테고리의 다른 글
| TodoList App 만들기 (0) | 2024.03.21 |
|---|---|
| Flutter MVVM 패턴 - 1 (0) | 2024.03.19 |
| dart 비동기 프로그래밍 - 3 (0) | 2024.03.15 |
| dart 비동기 프로그래밍 - 2 (0) | 2024.03.15 |
| dart 비동기 프로그래밍 -1 (0) | 2024.03.14 |